The Customer Center serves as a centralized hub, offering users streamlined access to all content and services provided by a workspace. In this article, you will explore the key features of the Customer Center from the user’s perspective, gaining insights on how to effectively navigate and interact with its various components.

Accessing the Customer Center
Users can access the Customer Center in several ways, depending on the links provided:
Customer Center Link: This link directs the user to the most relevant section of the Customer Center, with priority given to the Community tab if available, followed by Courses.

Course Link: Specific links to courses that the user has enrolled in will take them directly to the course content.
Community Link: Link to the community will take users directly to the Community page.
Affiliate Dashboard Link: If users are part of the affiliate program, affiliate dashboard link will take them directly to the Affiliate dashboard.
The Customer Center adapts dynamically, guiding users to the most appropriate section based on the access they have. When sharing the main Customer Center link, users are taken to the highest priority content available, starting with the Community tab (if they have access), or the Courses tab if Community access is unavailable.
Example 1 - John Accessing Course Content:
John purchased a course from you and received a welcome email with a link to access it. Let’s assume John also has access to the community in your workspace. When John clicks on the course link, he logs into the Customer Center using Single Sign-On or his username and password. After logging in, John will see the course content directly. Additionally, since John also has access to the community in your workspace, the “Community” tab will also be visible, allowing him to navigate and participate in the community.
Example 2 - Peter Accessing the Affiliate Dashboard:
Peter, another user on your workspace, has access to one of your courses and is also interested in promoting your products as an affiliate. After signing up for your workspace affiliate program, the system sends him an email with a link to access the affiliate dashboard. When Peter clicks the link, he logs into the Customer Center and is taken directly to the affiliate area. Since Peter also has access to a course, the courses tab is visible for him. On the other hand, Peter does not have access to the workspace community, so the “Community” tab remains hidden in customer center.
User Login Options in the Customer Center
Regardless of whether users are accessing a course, joining a community, or managing billing information, they are directed to a single, unified login page within the Customer Center. No matter which specific link they follow, they are presented with a consistent login experience where ClickFunnels offers multiple secure login methods to suit their preferences.
This is How the Login Process Works:
Email Login with Magic Link and Authentication Token: Upon reaching the login page, users choose between entering their email or selecting the password login option. If they opt to enter their email, the system sends an authentication email with both a Magic Link and a 4-digit Authentication Token. These login enhancements provide robust security by allowing temporary access without requiring a password.
.png)
Magic Link: By clicking the magic link, users are logged in automatically directing users to their intended destination, whether that’s a course, community, or billing page. This link remains valid for 10 minutes, allowing quick access to their Customer Center content.
4-digit Authentication Token: Users also receive a 4-digit token in the email and in phone associated with the contact profile, which they can manually enter in the token input field on the login page. This token is valid for 4 minutes, providing an alternative login method if they prefer not to use the link.
Password Login Option: Users who prefer a traditional login experience can select "Sign in with password" on the login page. They’ll then enter their email address and password to access the Customer Center, offering a familiar and straightforward login method for those who prefer it.
.png)
Customer Center Navigation Features
The Customer Center includes several features and settings that make navigation and access to content easier and more intuitive for the user:

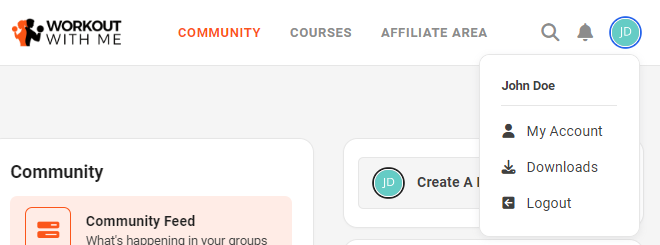
1. Logo or Name:
Located on the top left, the logo will be displayed if it has been set up in the customer center settings. If no logo is uploaded, the name of the Customer Center will appear instead.
2. Search Bar:
The search bar is a highly dynamic tool that adapts to the current tab the user is viewing:
If the user is on the Community tab, the search bar will function as a community search tool, helping them find posts or group content.
On the Courses tab and when they are viewing a specific course, it will allow the user to search course content such as specific lesson.
3. Notification Icon:
The notification icon provides updates to the user, such as mew posts or announcements in the community, new modules or lessons that have been unlocked in a course or any other updates related to their Customer Center account
4. Profile and Account:
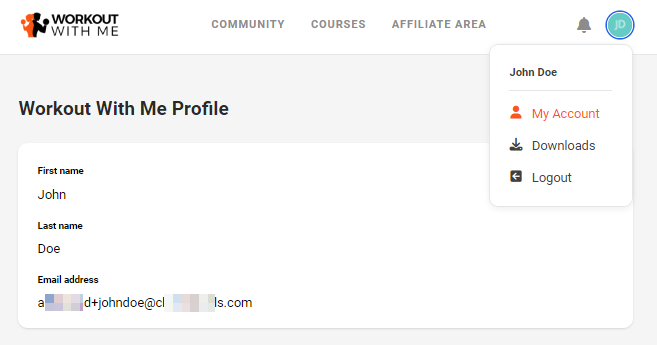
The profile icon on the top right corner provides users with administrative options. Within this menu:
My Account allows users to view and manage their account details, subscriptions, orders, addresses and payment methods.
Downloads lets users view and access all granted downloadable assets for their account.
Log Out allows users to securely exit the Customer Center.
Exploring My Account Features
The My Account section in the Customer Center provides users with various options to manage their personal settings, subscriptions, and access details effectively:

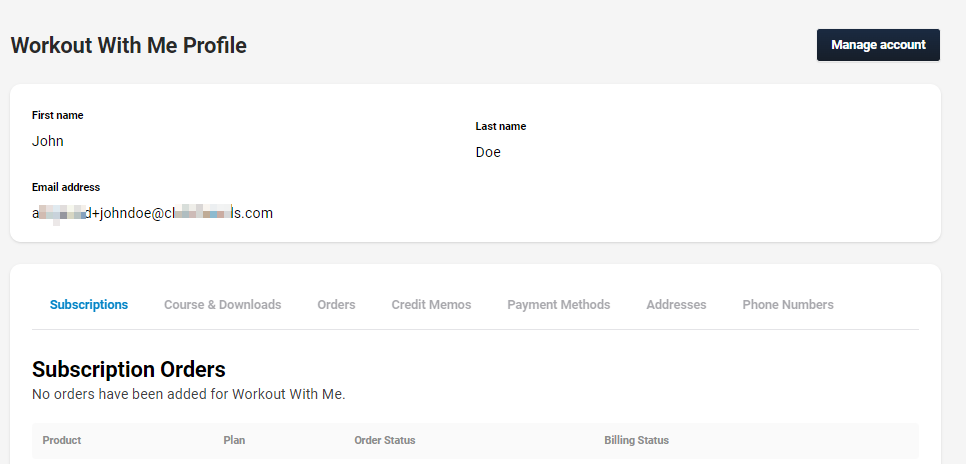
Manage Account: Users can click Manage Account to update their personal profile settings, including first name, last name, and other personal details. If they are affiliates, they can also add or update their PayPal email for receiving earned commissions.
Subscriptions: Users can view details of their ongoing subscriptions, including product name, plan type, order status, and billing status. They can also manage options like renewing, upgrading/downgrading or canceling their subscriptions.
To add a new payment method for an active subscription, the user can click the View Subscription and click the Gear
⚙️ icon under Autopay Method. From there, you can view the selected payment method on file and existing payment methods. You can also click Add New Card to add a new payment method..png)
Course and Downloads: Users can see all the courses they are enrolled in and access any digital downloads available to them.
Orders: Displays a list of the user’s past orders, providing details on each transaction that has been made.
Credit Memos: View issued credit memos that represent credits owed, typically for returned or undelivered goods.
Payment Methods: Users can manage their saved payment methods, including editing or removing existing payment cards.
Users can click Delete icon and then click confirm to delete a payment method.
Important:
Your users must add and select a new payment method for a subscription before removing the existing one. Having “No Payment Method” on file is not allowed.
Addresses and Phone Numbers: Allows users to update billing addresses and phone numbers to keep account information current.