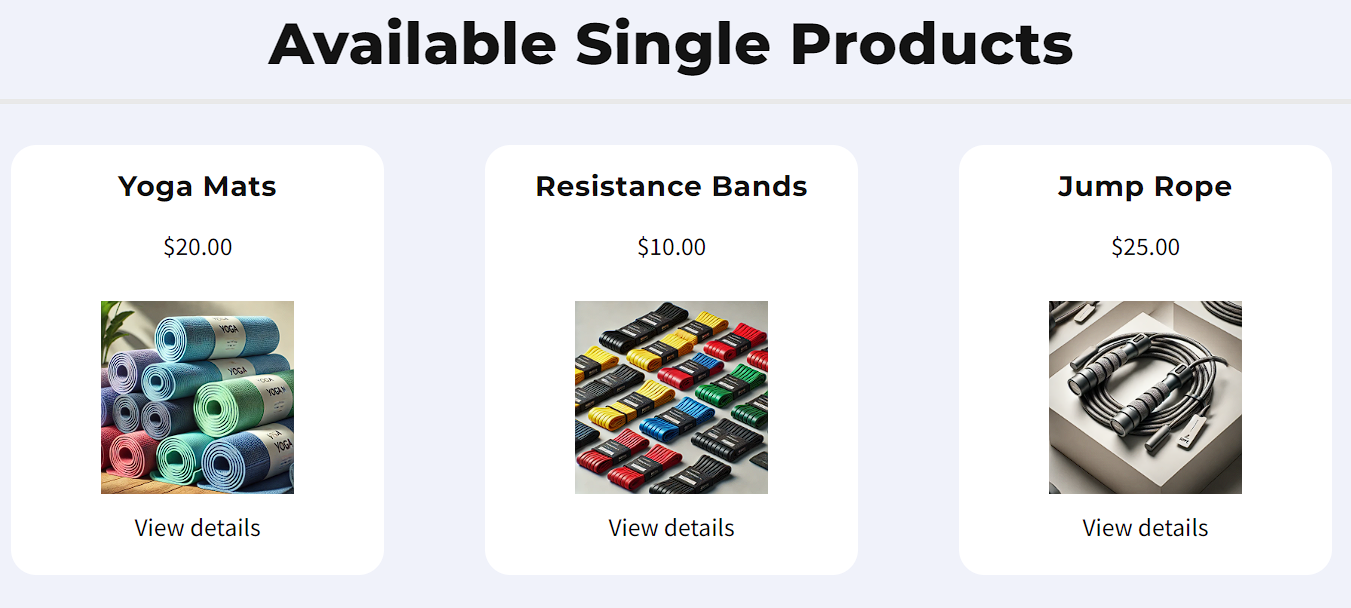
Displaying individual products on your ClickFunnels storefront helps customers easily browse and purchase items. The product elements you add are dynamic, automatically pulling details—like the name, image, and price—from the products you’ve created. This article explains how to add product elements to your storefront and customize their appearance for a better user experience.

Requirements
An active ClickFunnels account
Ensure that each product included in the “Product Collection” is set to be visible in the Online Store.
Adding Product Elements to the Storefront
In the left-hand menu, click Store, then select Overview.
Click Customize Store to access the theme editor.
Ensure the Store Front page is selected.
Add a Section, then add a Row inside that section.
Click the + Plus icon or Add New Element button to open Elements menu on the right-hand side.
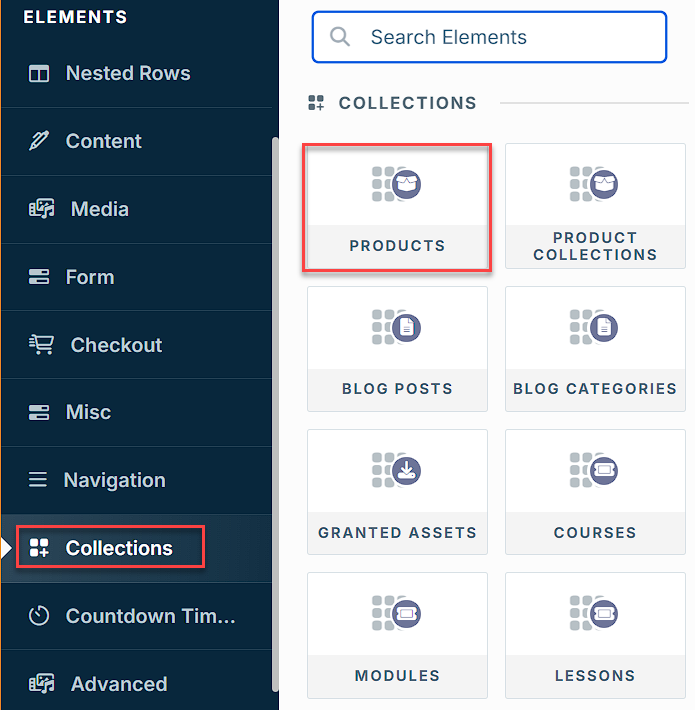
Scroll to the Collection section and select the Products element.

After adding the “Product” element, you will be prompted to select how many columns you want to add inside the container.
Customizing Product Elements
When you add the Product element to your collection, your store theme might automatically includes some product details, such as the Name, Image, and Price. If you want to customize the display further, you can add additional elements or modify the existing ones. These elements are dynamic and will pull data from the product details you’ve already set up, ensuring your storefront stays up-to-date.
If you want to add more elements or further customize the display:
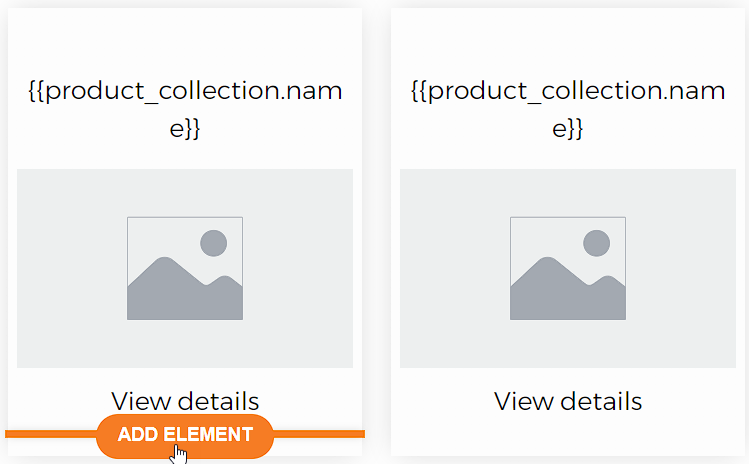
Click Add Element inside the row where the product details are shown.

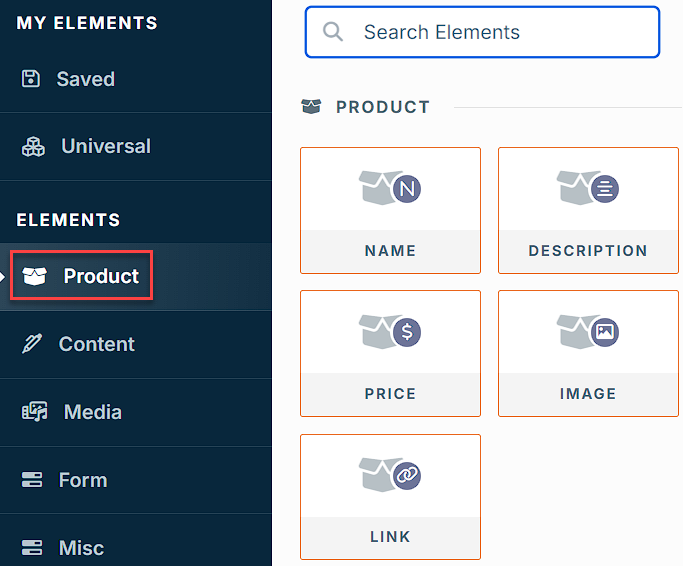
From the Product section, add elements like:
Name: Displays the product name.
Description: Adds a brief description.
Price: Shows the product price.
Image: Displays the product image.
Link: Adds a button linking to the product page or checkout.

Click on each element to access its settings. You can adjust fonts, colors, spacing, and layout to match your store’s theme and ensure everything looks cohesive.