This article will discuss how to add an Aweber Integration step to your Workflows. Doing so will allow you to perform list and tag actions supported through Aweber.
Requirements:
An active ClickFunnels 2.0 account.
A Workflow.
An active account with Aweber.
Step by Step Walk Through:
Open the Workflow Builder for the Workflow to which you wish to add an Aweber Integration step.
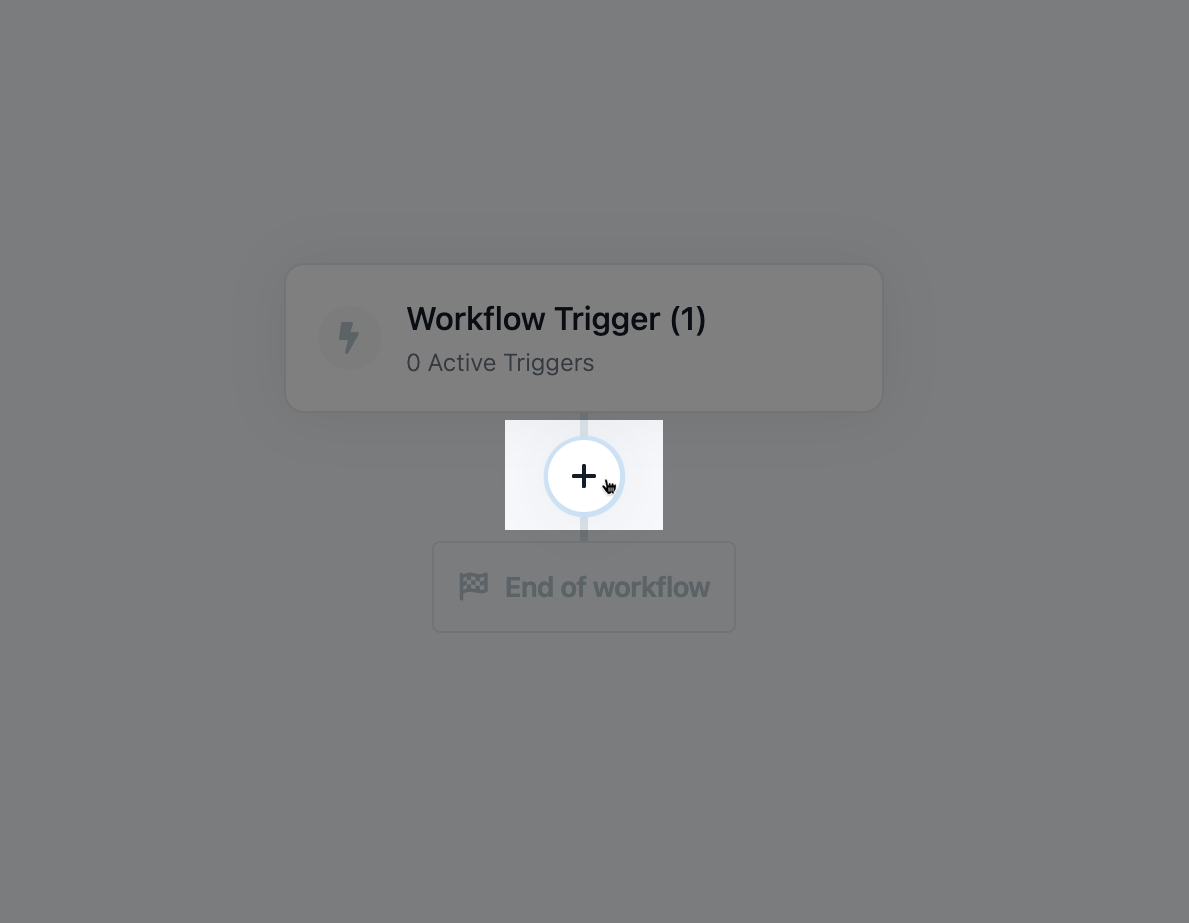
Click on the plus icon in the spot where you wish to add the step.
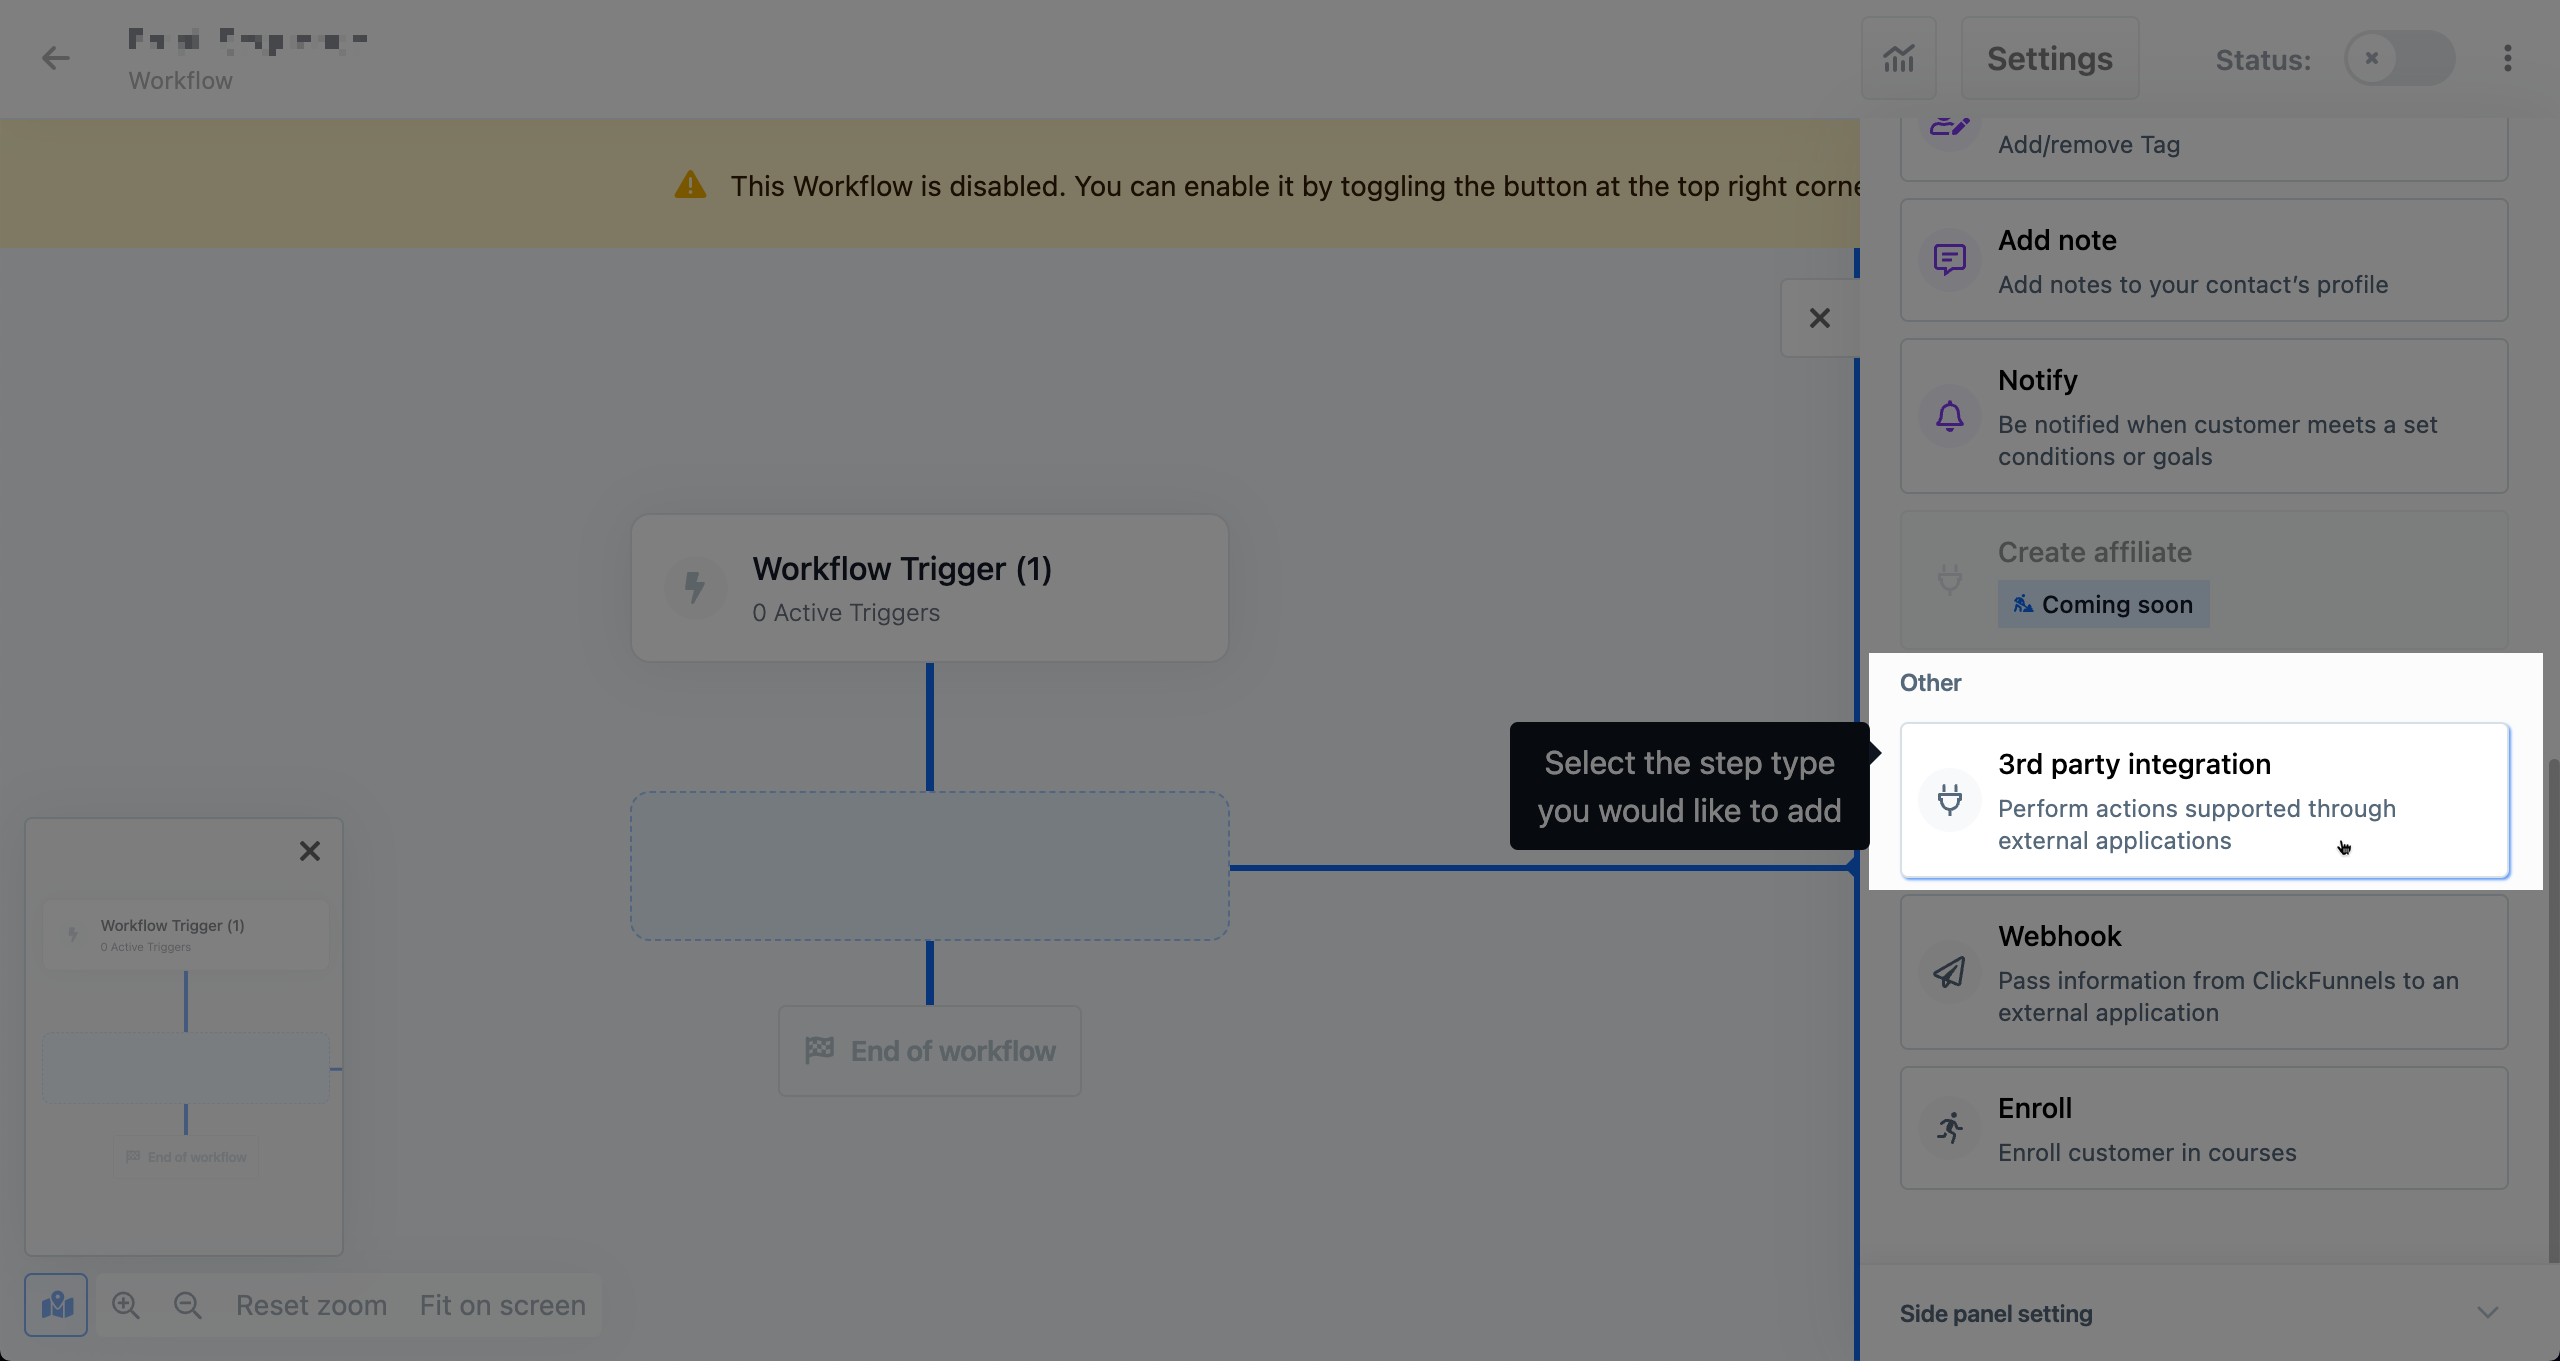
Scroll down to the Other section and click on 3rd Party Integration.
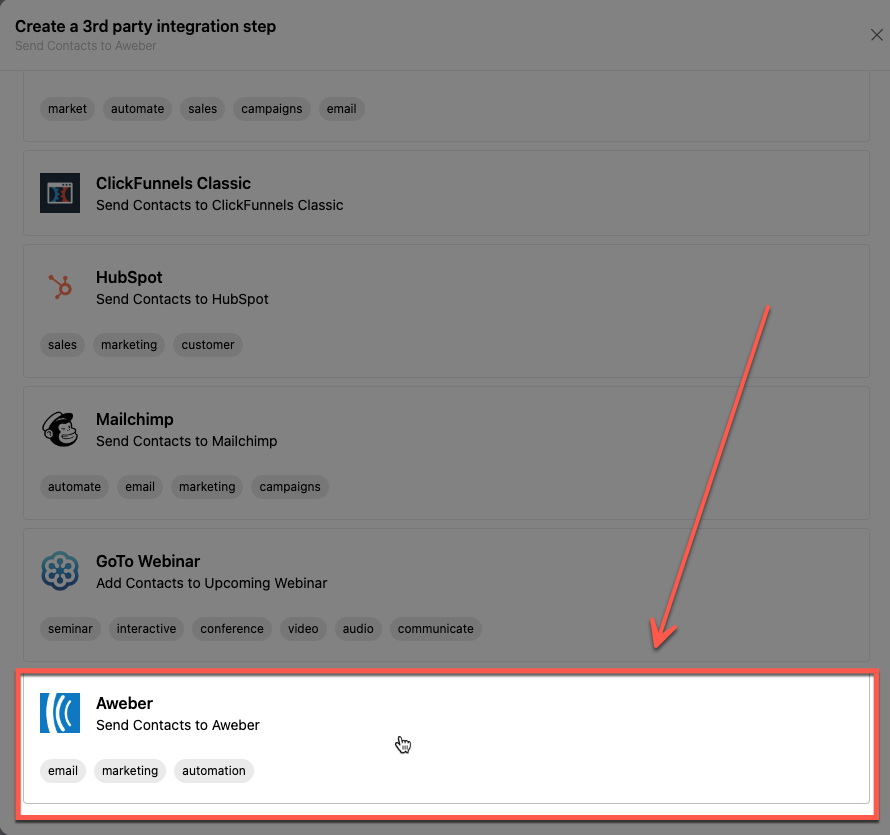
Scroll down to find the Aweber integration and click on it.
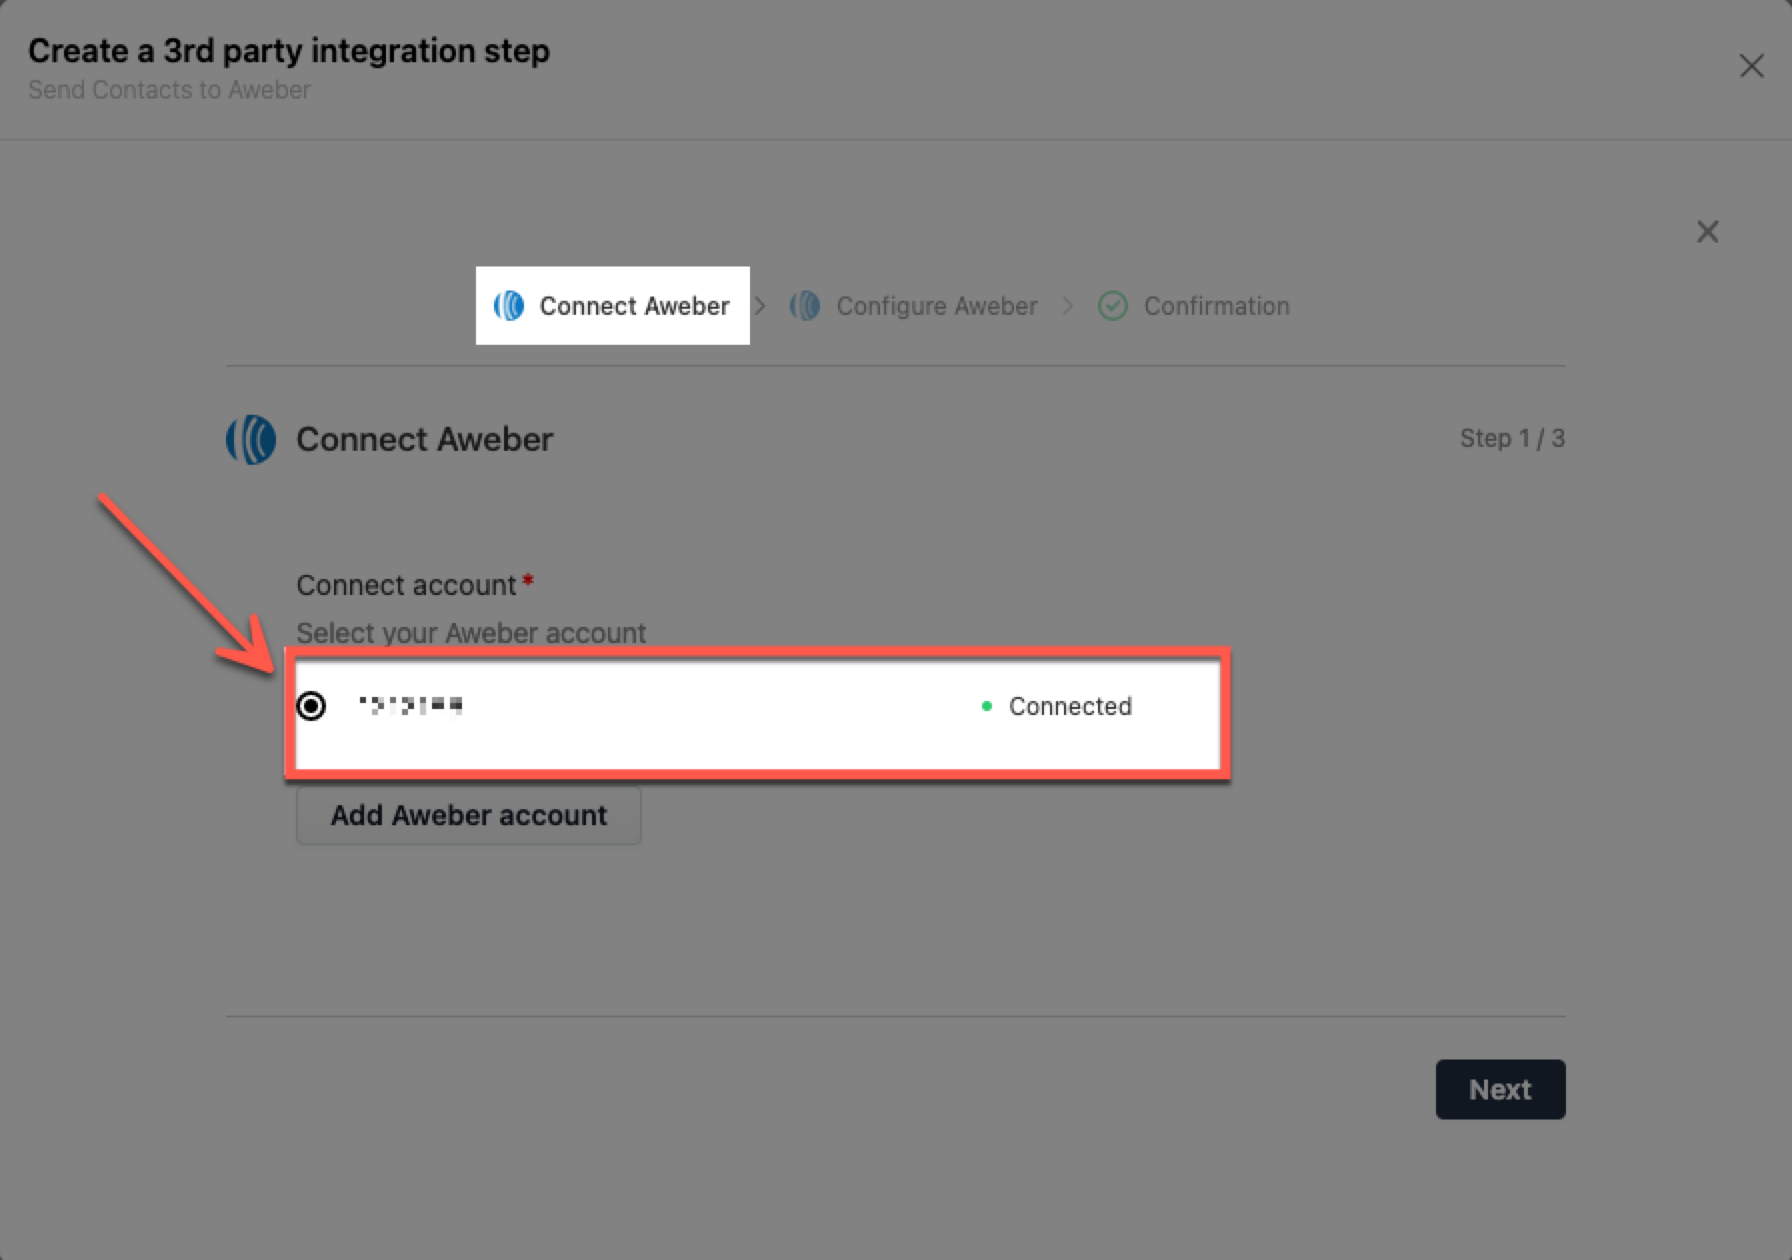
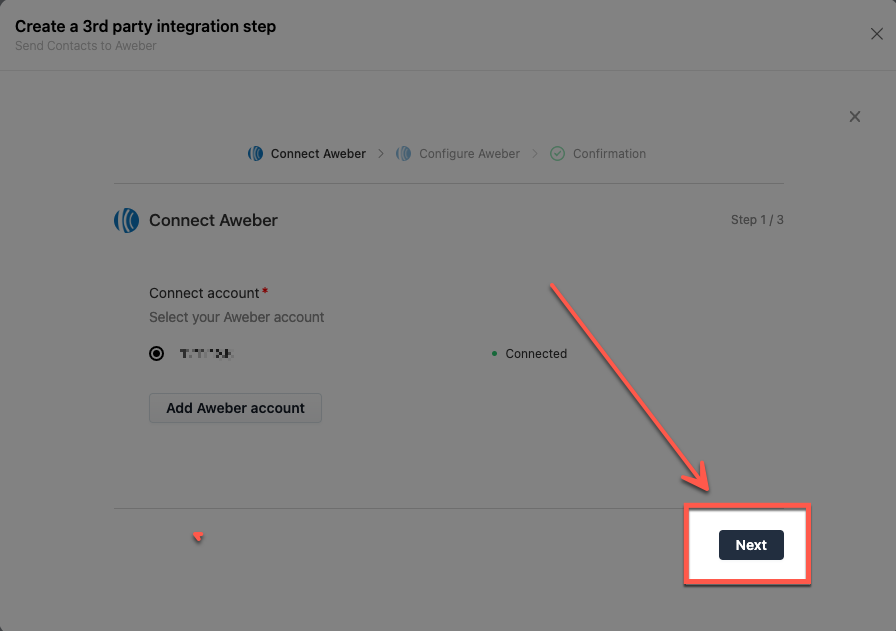
Select the specific Aweber account you wish to use or add a new one.
NOTE
See our article for step-by-step instructions
Click on the Next button.
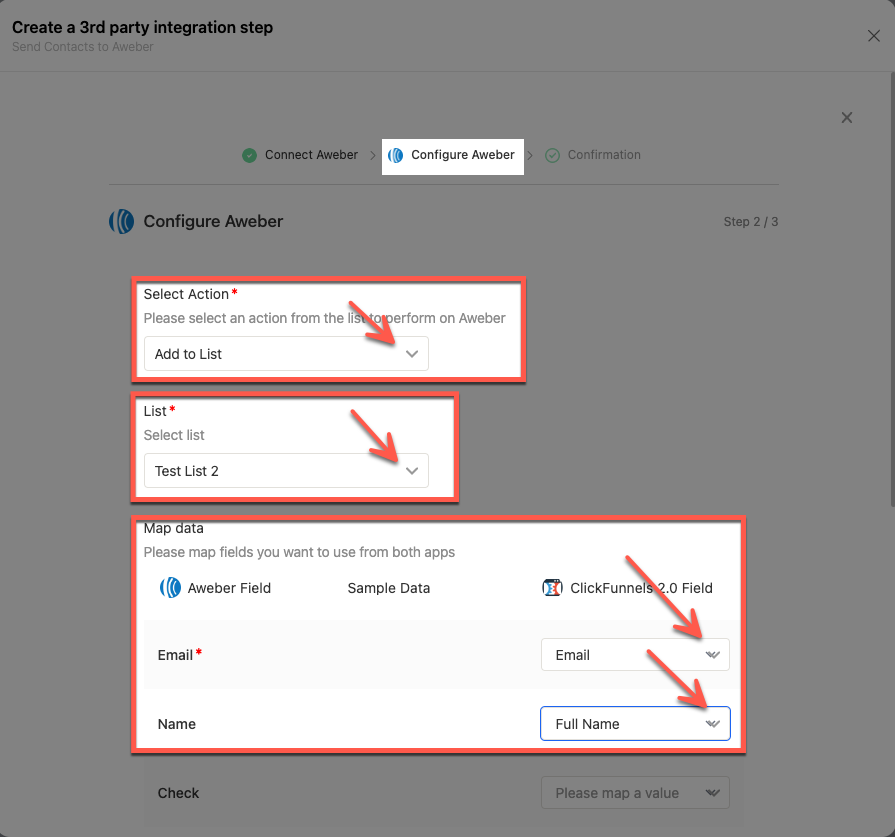
Follow the prompts to configure the integration for your needs.
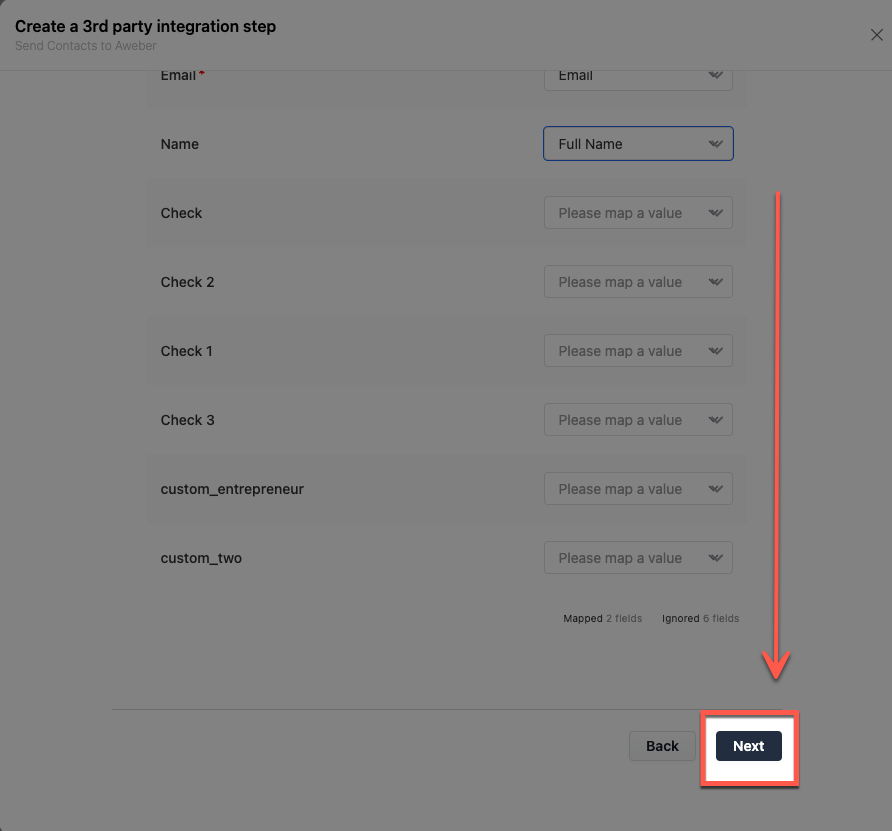
When ready, scroll down and click on the Next button.
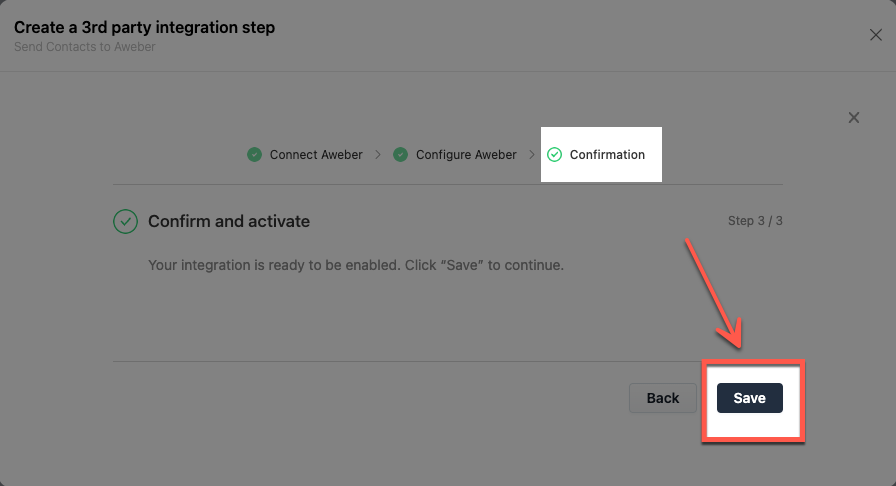
Click on the Save button to finish the process.
Congratulations! You now know how to add an Aweber Integration step to your Workflow!
If you have any questions about this, please contact our Support Team by clicking on the Support Widget at the bottom right-hand corner of this page and start a conversation with our Team or click the Help button at the bottom left of the ClickFunnels Page to access the Product Documentation and more.