In this article, we will cover an Overview of the Order Tags Section located in Orders. Below is a video to help you get started!
Requirements:
An active ClickFunnels 2.0 account.
At least one order must be created in the ClickFunnels account.
Are there some orders that you want to be able to organize, filter, and sort through? The Tags feature in ClickFunnels 2.0 allows you to do just that. Adding tags and applying them to orders allows you to locate orders faster and easier than ever.
Accessing The All Orders Menu
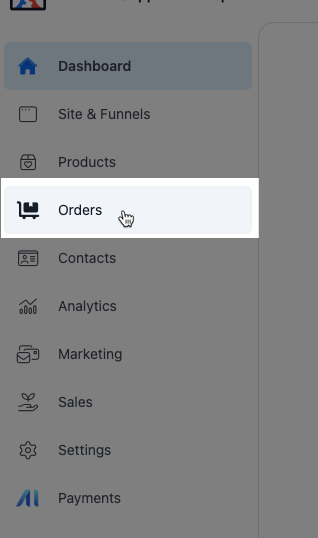
To access the Tags menu, first, click on the Orders dashboard.
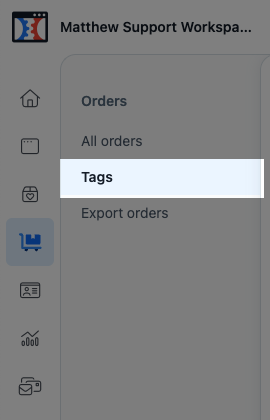
Then click on the Tags menu.
Tags Overview
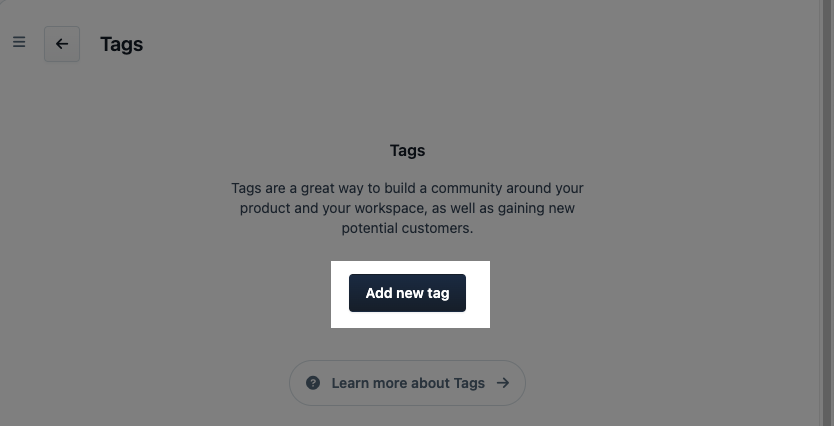
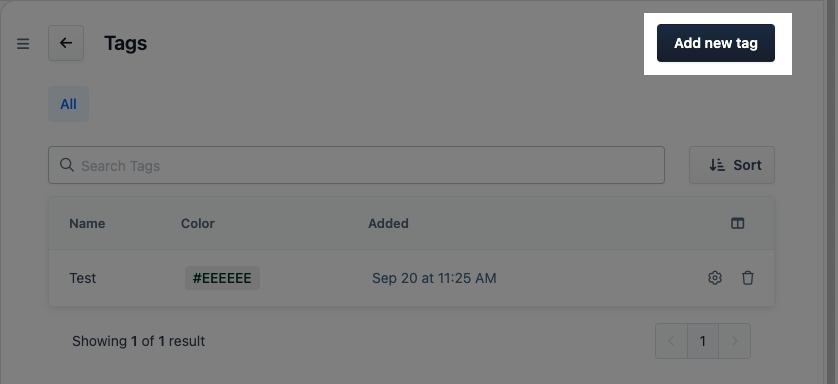
If there have not been any tags created, you will only see an option to add a new tag. In the next section, we will go into more detail about creating a tag using the Add new tag button.
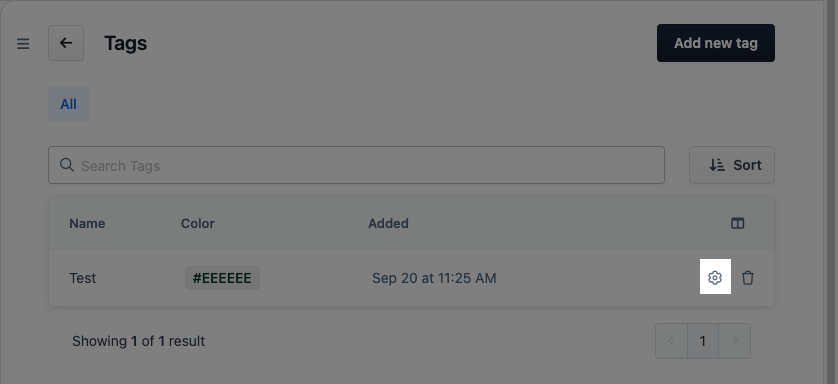
Once you have at least one tag, more options appear on this page.
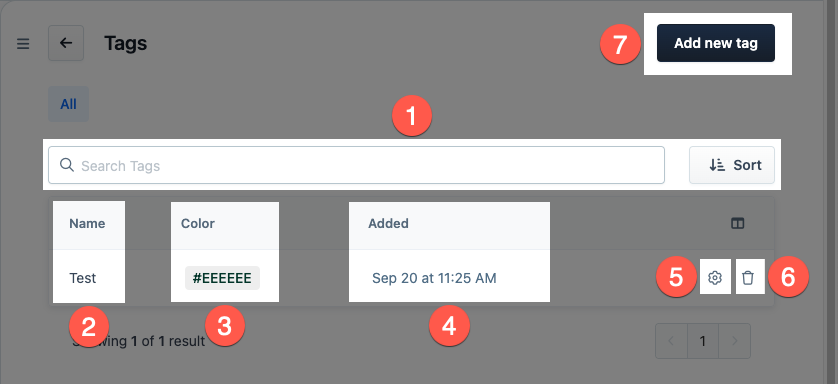
Search: Search and sort the list of tags.
Name: The name of the tag.
Color: The color used to represent the tag.
Added: The date that the tag was created.
Edit: This gear icon allows you to edit the tag settings.
Delete: This icon allows you to delete the tag, completely removing it from your account.
Add new tag: Use this button to create a new tag.
Add New Tag
You can create a new tag ahead of time. Doing so will allow the tag to appear as a selectable option when you start adding tags to orders.
Click the Add new tag button to add a new tag. On the next screen, you will configure the settings for the new tag.
Tag Settings
The tag settings are where you can view and manage the details of a tag. Just click on the gear icon from the Tags menu to access the settings for an existing tag.
The settings include the following: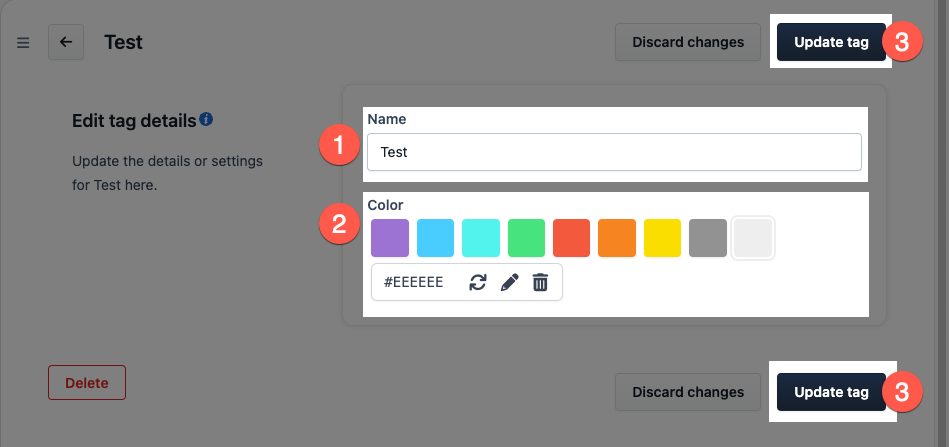
Name The name used for the tag.
Color: Select a color to represent the tag.
Update tag: Click on the Update tag button when you are finished.
If you have any questions about this, please contact our Support Team by clicking the Support Icon in the bottom right-hand corner of this page.