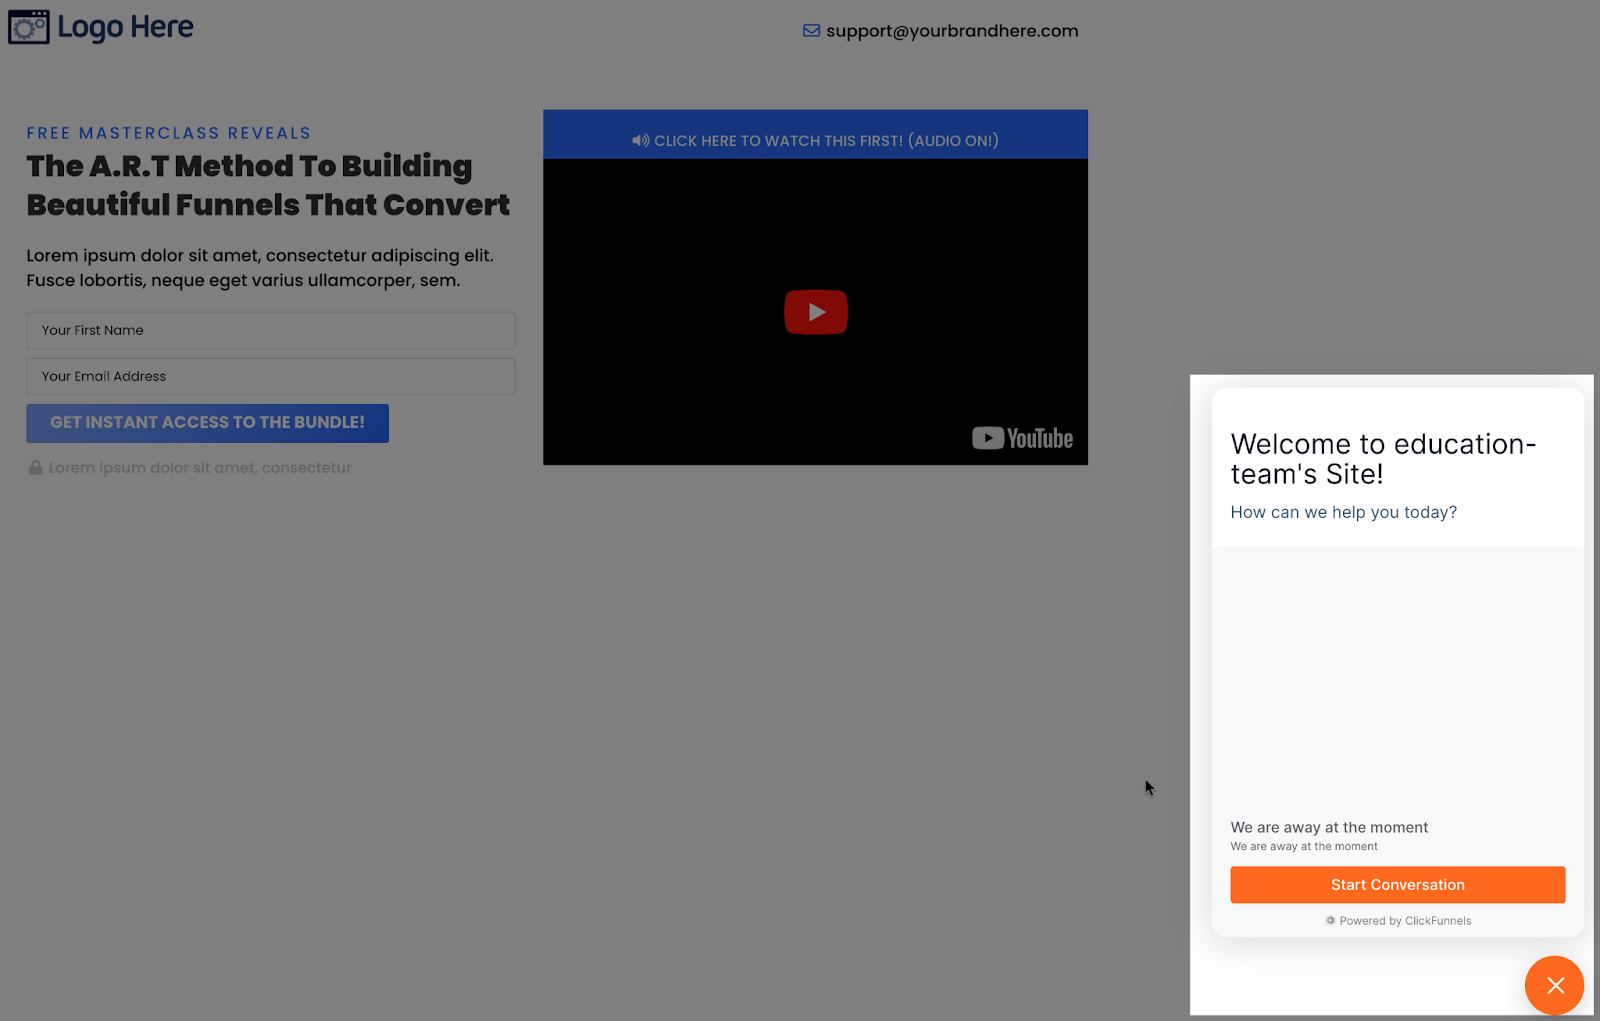
This article will go over the Website Chat Inbox Configuration. This option allows you to create an inbox for customers who open a chat on one specific page.
Requirements:
An active ClickFunnels 2.0 account
Important Note: Before you get started with MessageHub, you'll need to:
Configure your Marketing Settings
Buy or Configure a Custom Domain
Add an Email Address on a Custom Domain and Set up DKIM
Create your Website Chat Inbox:
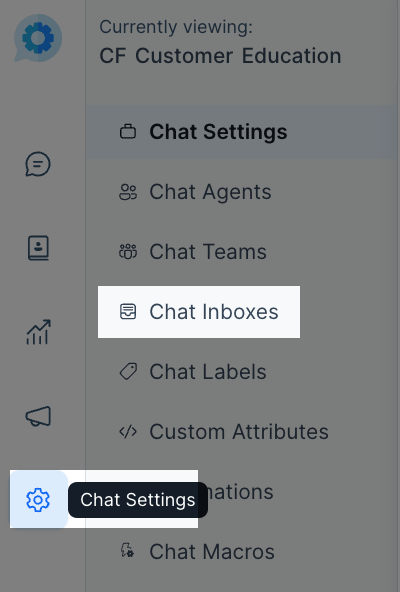
From the left side menu, click on Chat Settings, then Chat Inboxes.
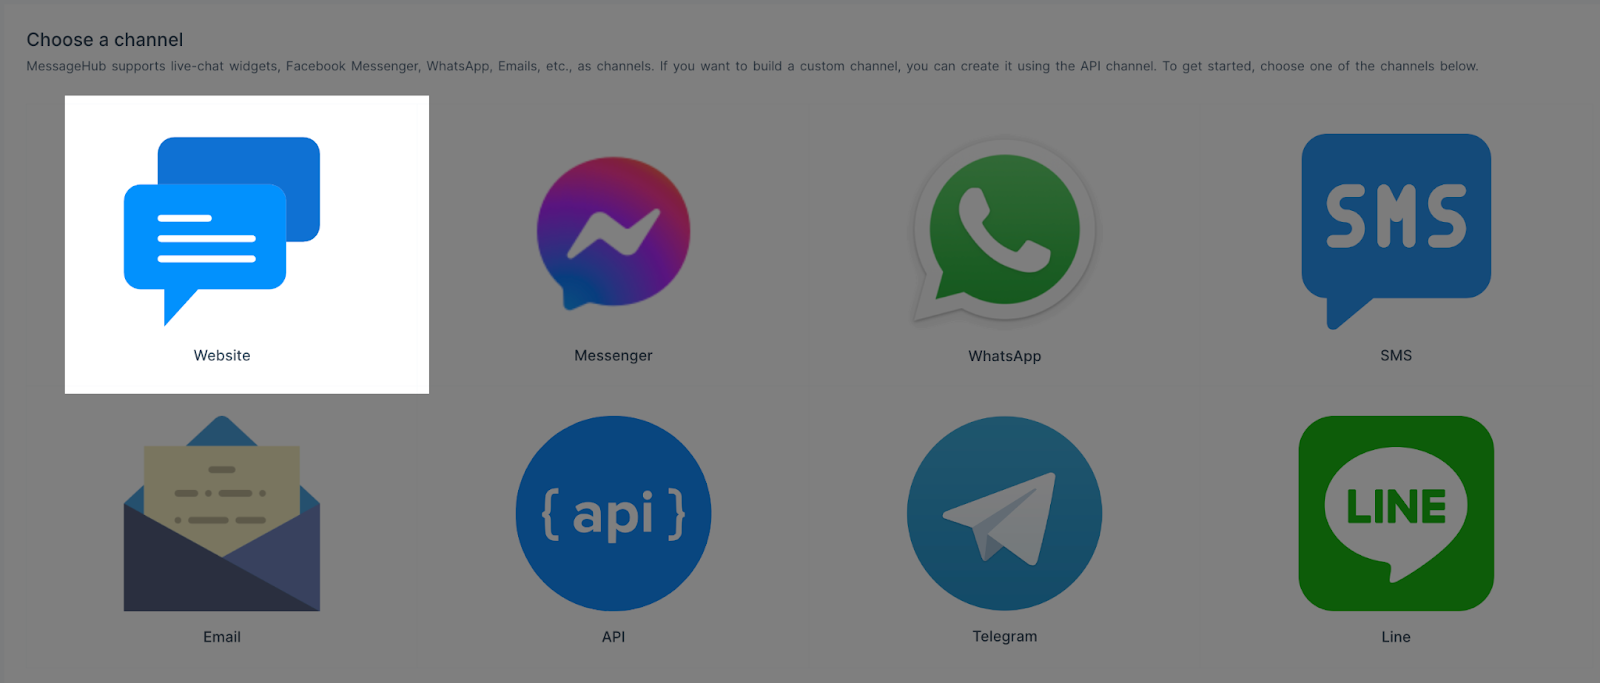
Select the Website option.
Complete the following information:
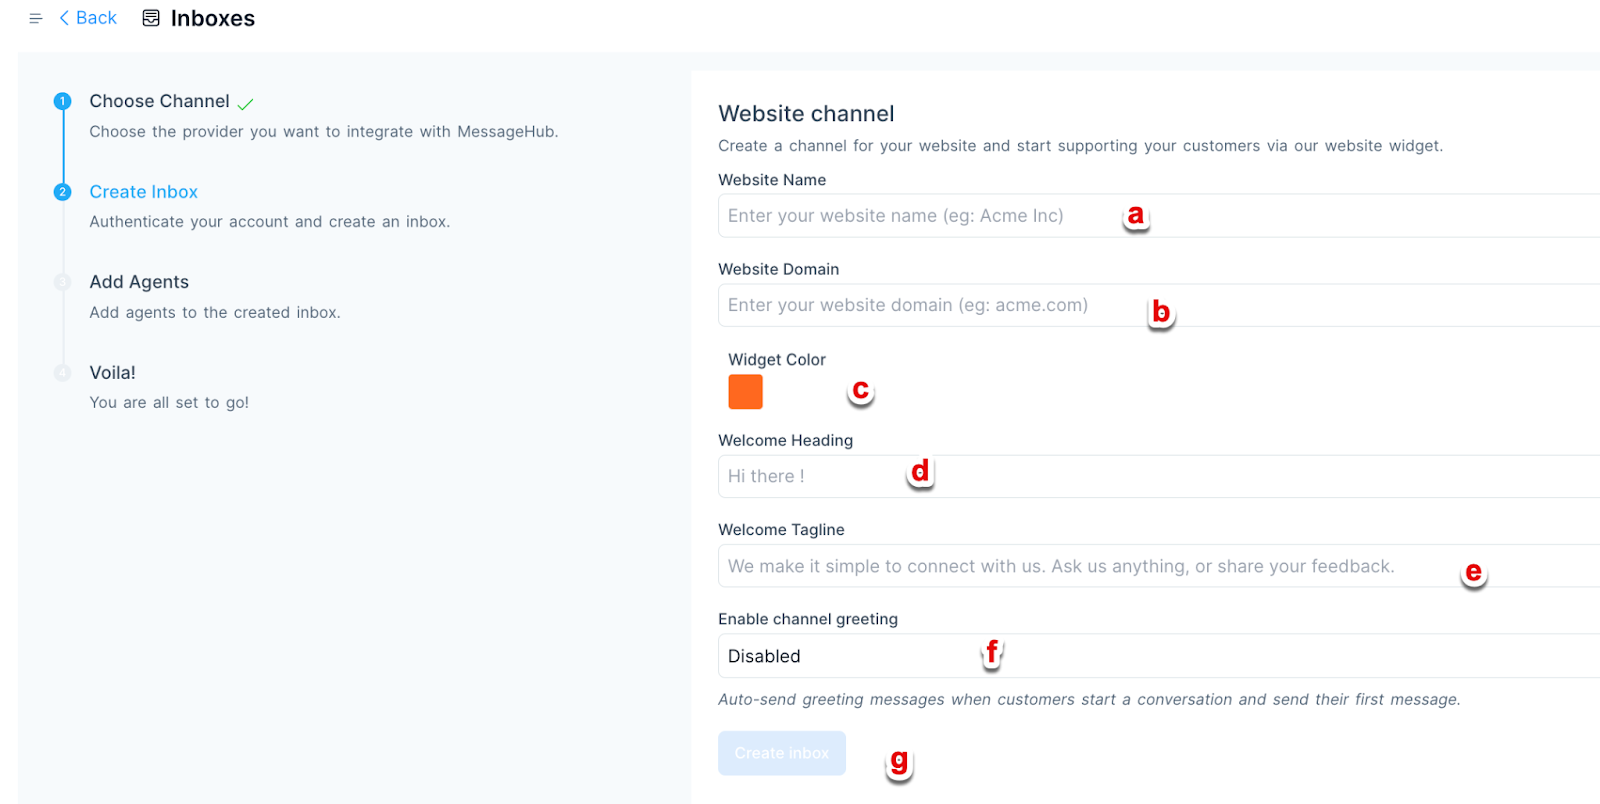 a. Add a name for your website.
b. Enter the domain of your website (Example: www.test.com)
c. Select a color for your widget.
d. Type a Welcome Heading.e. Type a Welcome Tagline.
f. You can turn on or off the greeting message that is auto-send.
g. Click on Create inbox once you complete the information.Select the Agents with access to this inbox and click on Add Agents.

You will receive a code once your inbox is created.
Copy the code and keep this tab open.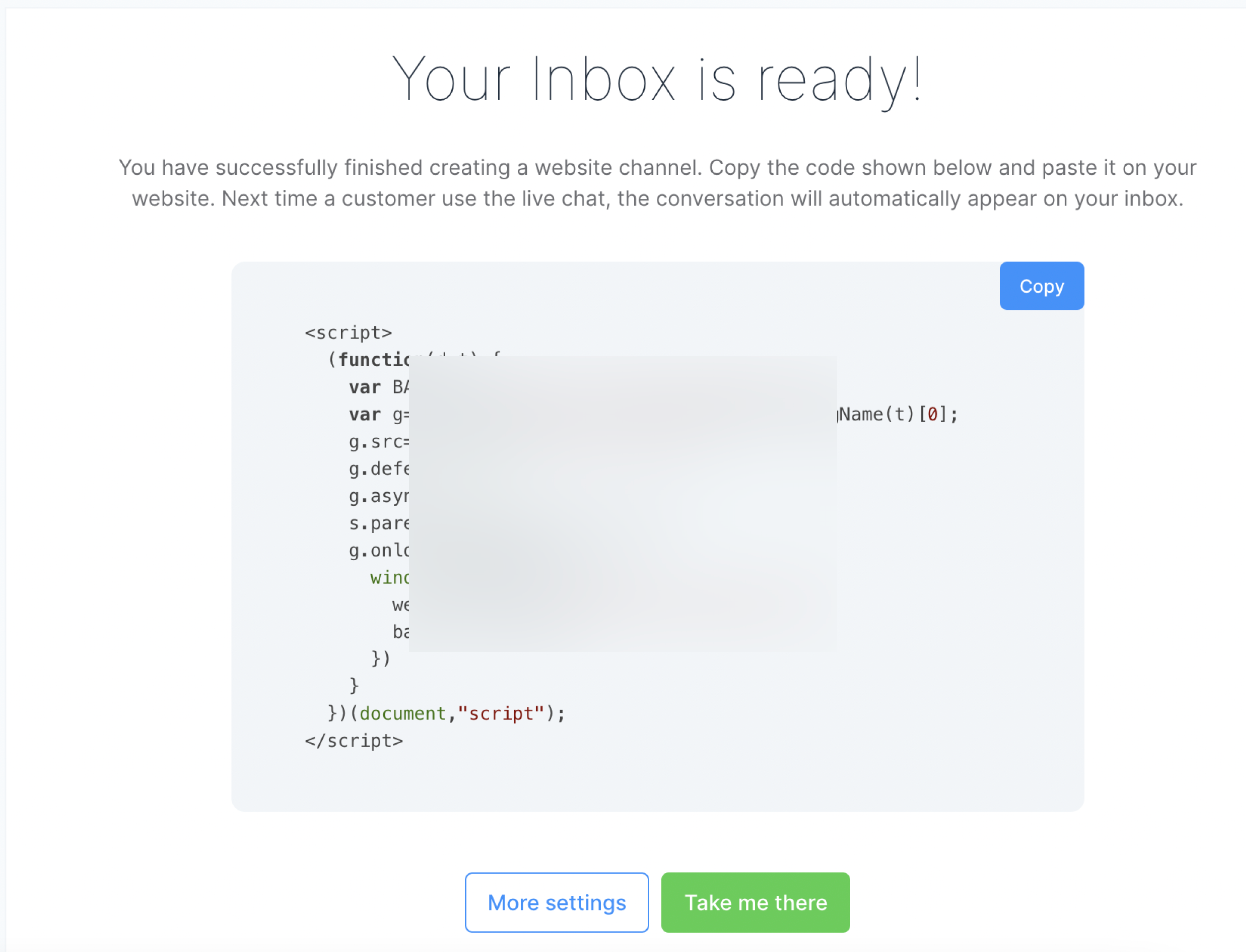
Add the code to your page:
Important note: The code needs to be added to the page you designed as your Website Domain (See step 3 of Create your Inbox)
Access the funnel where your Website Domain page is located.

Access the Editor.
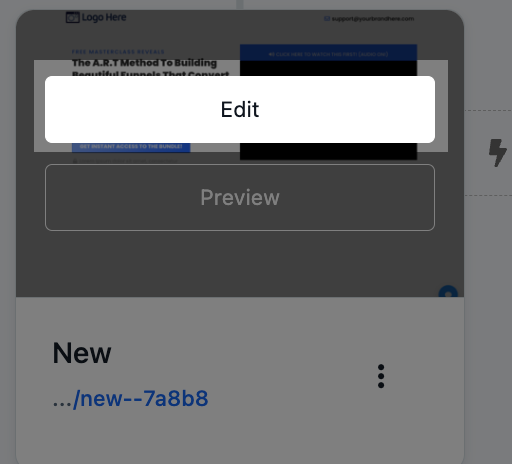
Click on the Code tab.

You can paste the code either on the Header or Footer area:
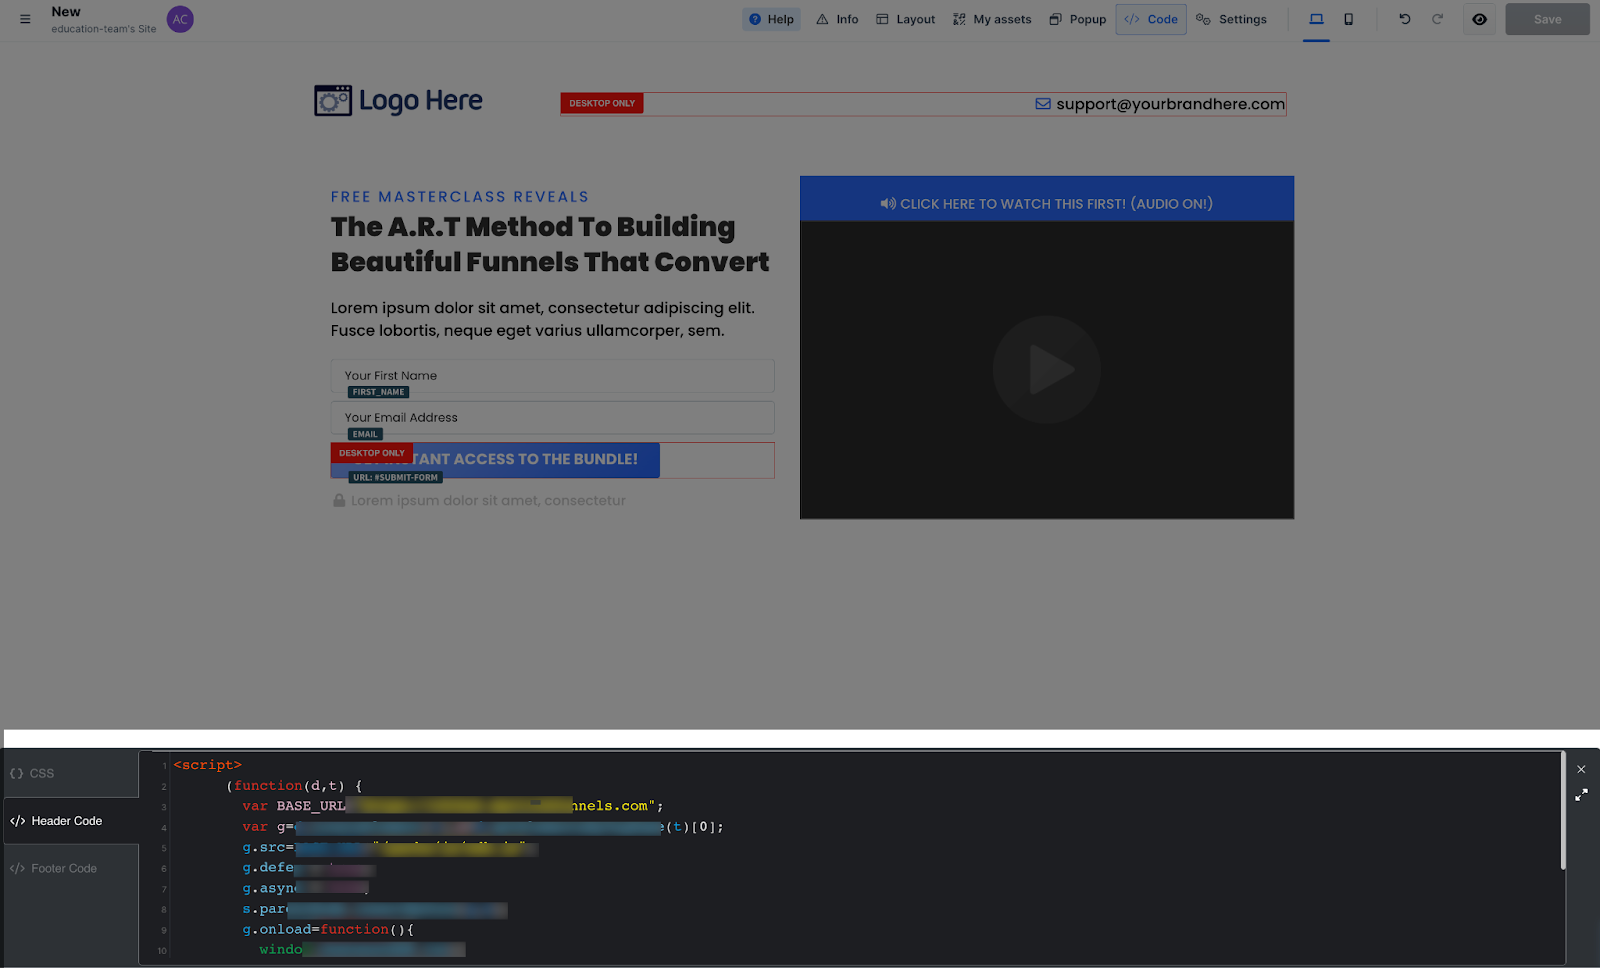
Visit your page on an incognito window to see the changes. (This can take a few moments to update)
