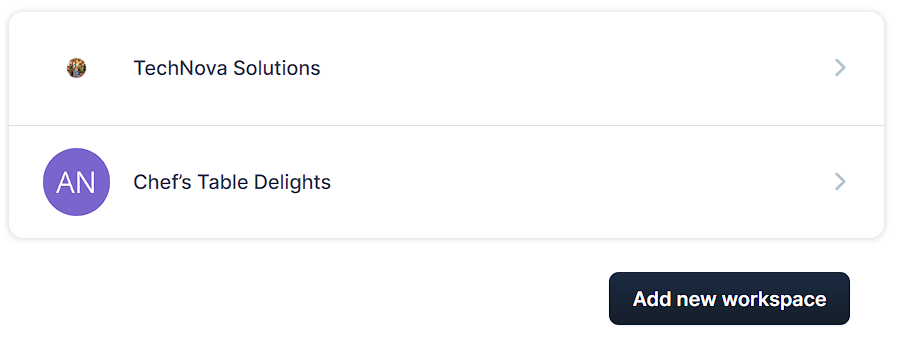
Workspaces in ClickFunnels help you organize projects and collaborate with team members. This article explains what workspaces are, how to use them, and how to add a new workspace to your account.

IMPORTANT
Your ClickFunnels subscription plan determines the number of workspaces you’re allowed to create. For detailed information on workspace limits for each plan, please visit our Pricing page.
Requirements
An active ClickFunnels account
What are Workspaces
A workspace is a dedicated area in your account where you can organize projects, teams, or clients. They allow you to:
Group related funnels, products, and resources together.
Control access and permissions for different team members.
Keep projects separate and organized.
Adding a New Workspace
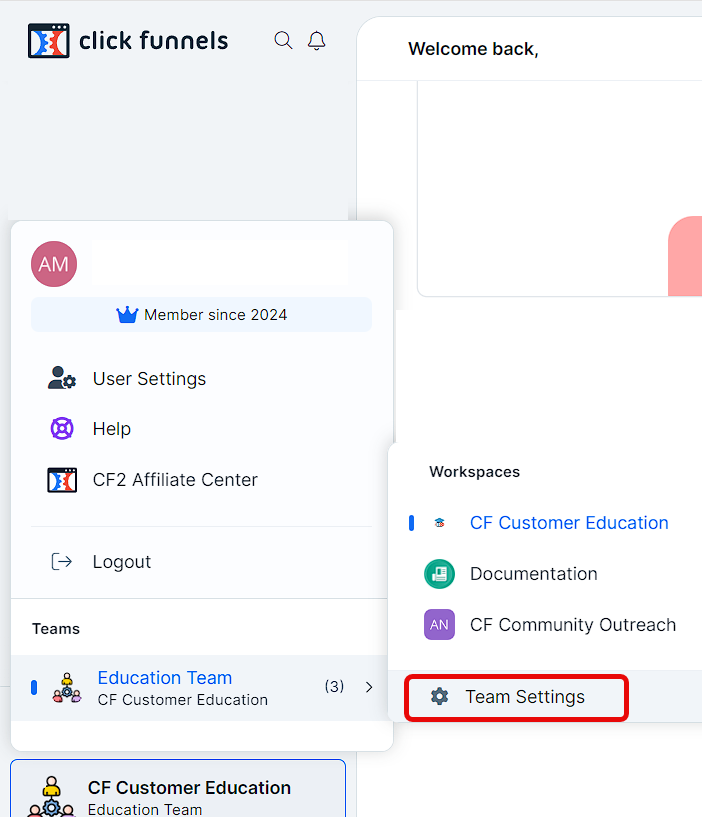
Click on your workspace name at the bottom left of your dashboard.
Select Team Settings.

Navigate to Team Workspaces tab in the left navigation menu.
Click Add new workspace at the bottom right of the page.
Enter a Workspace name.
Click Create workspace to finalize the process.
Setting Up Your New Workspace
After creating a new workspace, you’ll need to set it up. Follow these steps:
Click on your newly created workspace on the Team Workspaces page.
Enter your business name in the My Business Name field.
Specify your subdomain in the My Subdomain field. This will create your workspace URL (https://yoursubdomain.myclickfunnels.com).
IMPORTANT
The site subdomain cannot be changed after setup. However, you can use a custom domain or subdomain for your site:
To assign a domain to your site, see our Assigning Your Site’s Domain article.
For connecting an existing domain, refer to How to Connect an Existing Domain in our knowledge base.
(Optional) Add a logo:
Click Add Logo to expand the logo section.
Click Select image or drag and drop an image to upload.
Click Next to proceed with the setup.
After completing these steps, you’ll be directed to your new workspace dashboard, where you can start managing your projects and settings.